

Industri kreatif di Indonesia terus berkembang pesat, namun tantangan permodalan masih menjadi kendala utama. Gadai mobil hadir sebagai solusi alternatif
Continue reading
HouseOfBliz


Industri kreatif di Indonesia terus berkembang pesat, namun tantangan permodalan masih menjadi kendala utama. Gadai mobil hadir sebagai solusi alternatif
Continue reading
Jual beli komputer bekas semakin marak di tengah kebutuhan teknologi yang terus meningkat. Meski harganya lebih terjangkau, pembelian komputer bekas
Continue reading
Pinjaman online ilegal telah menjadi masalah serius di Indonesia, terutama dalam konteks kesehatan mental para korbannya. Di tahun 2025, dampak
Continue reading
Uji kesesuaian CT-Scan adalah prosedur yang sangat penting dalam dunia radiologi. Proses ini bertujuan untuk memastikan bahwa pesawat CT-Scan memenuhi
Continue reading
Mendapatkan pinjaman Rp500 ribu meskipun menggunakan KTP luar kota bisa menjadi tantangan tersendiri. Namun, dengan persiapan yang tepat dan pemilihan
Continue reading
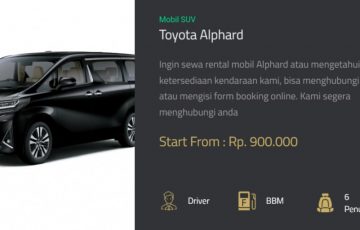
Kebutuhan finansial yang mendesak terkadang membuat kita mempertimbangkan untuk menggadaikan aset berharga seperti mobil. Proses gadai mobil menjadi pilihan yang
Continue reading
Kebutuhan dana mendesak bisa datang kapan saja. Entah itu untuk modal usaha, biaya pendidikan anak, atau keperluan mendadak lainnya. Bagi
Continue reading
Membutuhkan dana tunai dengan cepat namun BPKB mobil yang Anda miliki tergolong sudah tua? Jangan khawatir, menggadaikan BPKB mobil tua
Continue reading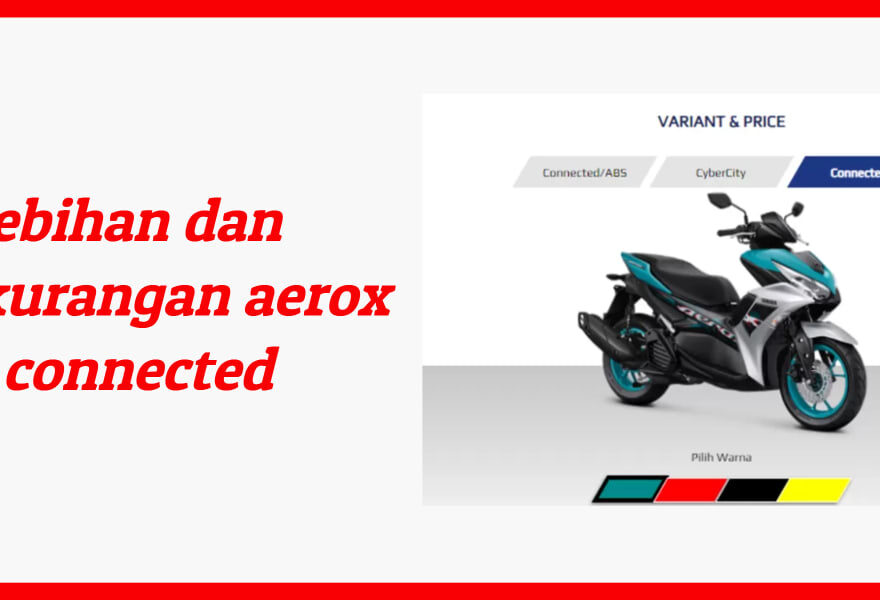
Yamaha kembali meluncurkan skutik andalan mereka dengan generasi terbaru, All New Aerox 155 Connected. Skutik maxi sport ini mengusung konsep
Continue reading
Merasakan sensasi melaju kencang dengan skutik Nmax atau Aerox kesayangan tentu menyenangkan. Namun tentu Anda juga menginginkan performa mesin yang
Continue reading